Sometimes your Figabytes eSIM may show a different network name, appear as a “Generic Profile,” or struggle to connect automatically. This usually happens because your phone is connected to the wrong roaming partner or the network was not selected correctly.
The good news?
You can fix this quickly using Manual Network Selection.
This guide explains how to manually choose the correct network on iPhone and Android, and how to resolve branding or connection inconsistencies.
🔍 Why Manual Network Selection Is Important
Your Figabytes eSIM automatically connects to supported local networks in each country.
However, your device might attempt to connect to a:
This may result in:
Manually selecting the correct partner network solves this instantly.
🌍 Step 1 — Check the Recommended Network for Your Country
Your Figabytes order confirmation includes the recommended network(s) for your destination.
Examples:
You will need this information before selecting manually.
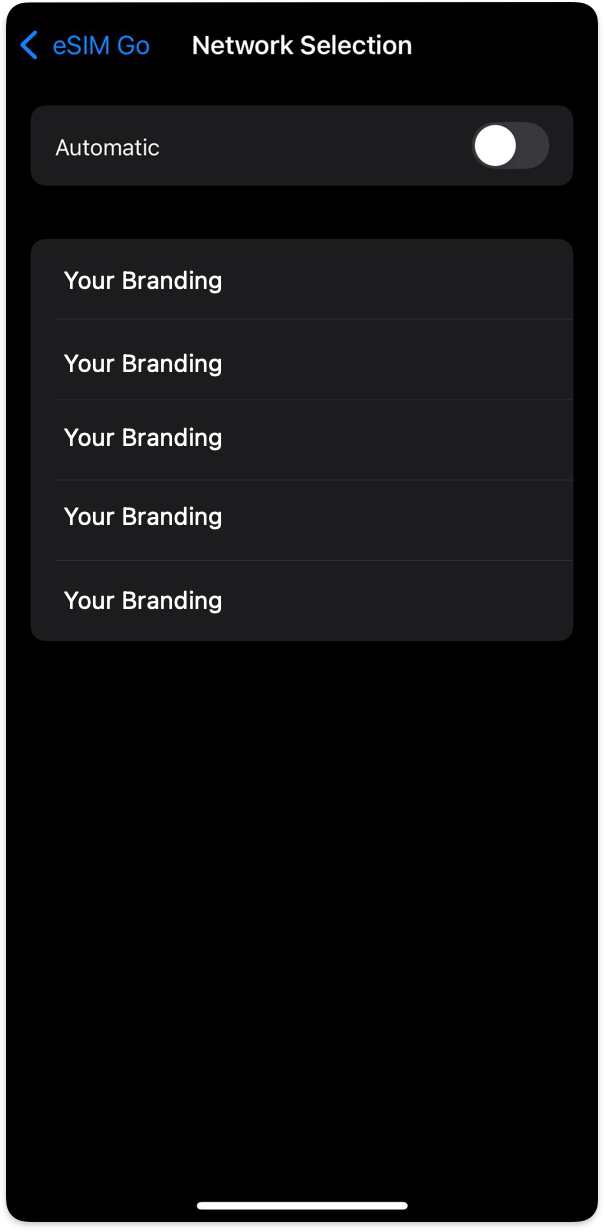
📱 Step 2 — Manual Network Selection on iPhone
1. Open Settings
Go to:
Settings → Mobile Data → Figabytes eSIM
2. Turn OFF Automatic Selection
Tap Network Selection
Toggle Automatic OFF
3. Wait for the list of networks to load
You will see all networks available in your current location.
4. Choose the Correct Partner Network
Select the network recommended for your Figabytes plan.
5. Restart Your iPhone
This ensures the new registration completes properly.
6. Test Mobile Data
Open Safari or Maps to confirm connection.
🤖 Step 2 — Manual Network Selection on Android
(Android menu names vary slightly by brand — Samsung, Pixel, Xiaomi, Oppo, etc.)
1. Open Settings
Go to:
Settings → Network & Internet → SIMs → Figabytes
2. Select Preferred Network Type
Switch temporarily to 4G/LTE only if 5G is unstable.
3. Open Network Selection Menu
Tap Network Operators or Choose Network Manually
4. Turn OFF Automatic
Disable automatic selection.
5. Pick the Correct Network
Choose the partner network recommended for your Figabytes plan.
6. Restart Your Phone
Then toggle Airplane Mode ON → OFF.
7. Test Mobile Data
🛠️ Troubleshooting Branding & Display Issues
Sometimes your phone may show:
This is normal.
Branding is controlled by the host network your device is roaming on.
Fix:
Manual network selection usually corrects this.
If branding still looks unusual but data works fine, there is no issue with your eSIM.
❗ If Manual Selection Doesn’t Fix the Issue
Try the following:
1. Restart the Device
Simple, but very effective.
2. Toggle Airplane Mode
ON → wait 10 seconds → OFF
3. Check APN Settings
Ensure the APN from your Figabytes order is entered correctly.
4. Disable VPN / Private DNS
These can block roaming networks.
5. Switch Network Mode
Try LTE/4G only
Try toggling 5G ON/OFF
6. Move to an Area With Better Signal
Weak signal can cause network registration to fail.
🧩 Still Not Connecting?
It may indicate:
The wrong partner network was selected
Your eSIM line is disabled
You are outside a supported region
The eSIM profile is corrupted
Your device is carrier-locked
Contact Figabytes Support with the following:
We’ll guide you to the correct network or issue a replacement eSIM if needed.
🎉 Summary
Manual network selection helps fix:
In most cases, simply choosing the correct partner network brings your Figabytes eSIM online instantly.


